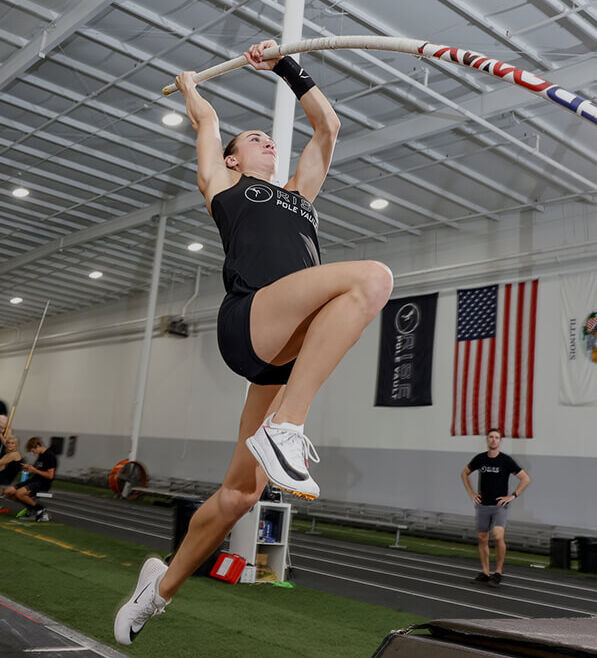
RISE Instructional Tip:
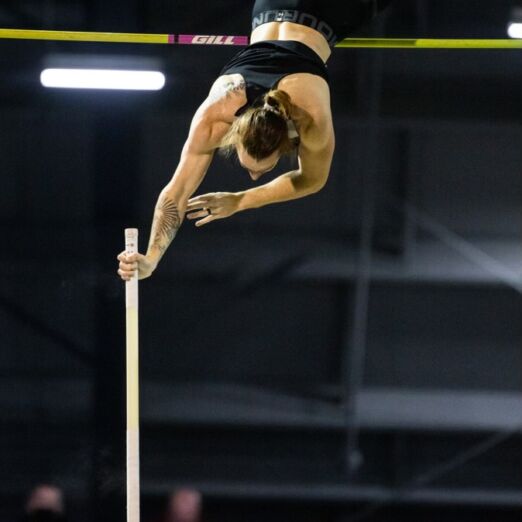
This is an advanced drill and not for everyone. Only after all subsequent drills have been mastered is the corkscrew a feasible drill. However, I will go through how to teach it and why to teach it. First I will address the why. The reason that the Corkscrew is so important in the RISE level system, is because it is the only drill that actually imitates a real vault in relation to top hand placement and head movement. Of course the ¾ drill should precede the Corkscrew drill, but I’m going to jump ahead a bit, and write about the corkscrew before the ¾ Drill. All drills in the straight pole and bend pole series build upon one another, and each subsequent drill goes a little farther into the technical process of a real jump. The Corkscrew is the top of the heap in the RISE System. No other drills are necessary in the technical development for the level of vaulters that we coach.
It is important for the athlete to understand that this is a drill. I would liken it to a “Block out Drill” in basketball. You have to work on the “Block out Drill” drill in practice inorder to actually get rebounds with consistency in a game. Don’t know about basketball? Well then liken it to going to the golf driving range to improve your long game, or the putting green for your short game. Some very good coaches and athletes don’t work on drills. To my way of thinking this is kind of like deciding to ride a horse to work instead of driving a car. Yes… you will most likely get there on a horse, but not as efficiently, or in as timely of a fashion.
I am going to bullet point the following technical points of the drill to emphasize major technical points. It is my belief that if the majority of vaulters at RISE advanced along enough in the system at RISE, to learn the Beginner and Advanced corkscrew Drill, that performances would greatly improve. However, it takes time to learn the drill safely and productively. So, if vaulters fail to consistently attempt the drills (corkscrew when they are ready) at most workouts, then there is little chance they will master the corkscrew. Because of the complexity of some of the drills, and the reluctance of some vaulters to embrace them, the fact is that they may run out of time before they learn the higher level drills like the corkscrew. The corkscrew is really not that hard to teach. It just takes time, consistency, and a systematic method of teaching it. Josh’s video does a pretty good job showing the progression of learning the drill.
Luke learned all the drills the summer between his freshman and sophomore season. He jumped 13’9 as a freshman (left the bar up there at sectional) and improved to 15’9 as a sophomore. I believe the drills were a major factor in his improvement as a sophomore, especially the corkscrew.
We have to teach all the subsequent drills leading up to the corkscrew in order for it to be authentic, and not a gymnastic trick. I’ve seen some girls at RISE do the beginner corkscrew. They were able to manage it because of their gymnastic training. They can make the untrained eye believe they are executing the drill, when in fact if you watch their top hand location, and head and shoulder movement you’ll see that they are not doing the drill as prescribed, but doing a very athletic looking gymnastic illusion.
HOW:
Straight pole Corkscrew: 3-4L
- Pole is not bending
- Right hand is on the right leg
- Right hand stays on the right leg and passes the hip flexor
- The head looks over the shoulder and down the pole at the same time the right hand passes the hip flexor.
- This is the only straight pole drill that the top hand passes the waist band, therefore simulating a real vault.
- The corkscrew movement is generated when the right hand passes the hip flexor and the head looks over the shoulder and down the pole
- The energy in this drill is generated by a powerful trail leg. No trail leg energy and there is not enough energy to move the top hand past the hip flexor.
- The vaulter should attempt to land their feet on the 11 o’clock-1 o’clock slice of pie in the back of the pit. This is necessary because the drill itself takes longer to be manifested, so staying in the air longer is important.
- Grip adjustment is usually important in this drill, and narrowing of the hands also can be helpful.
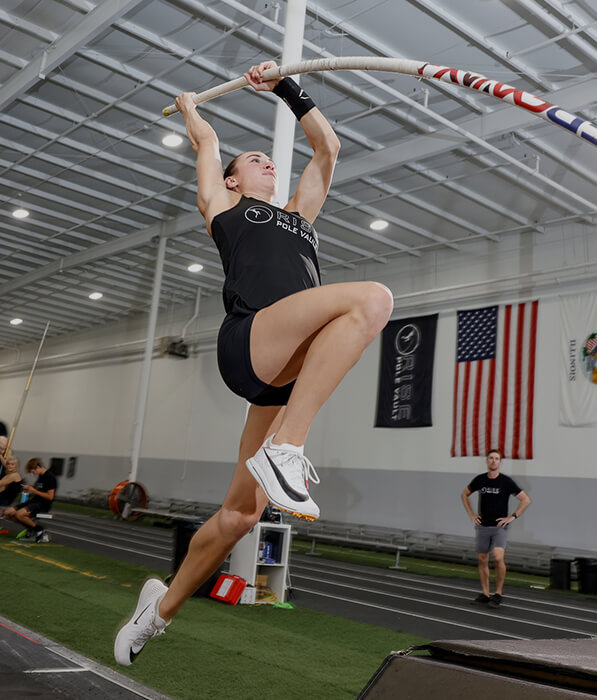
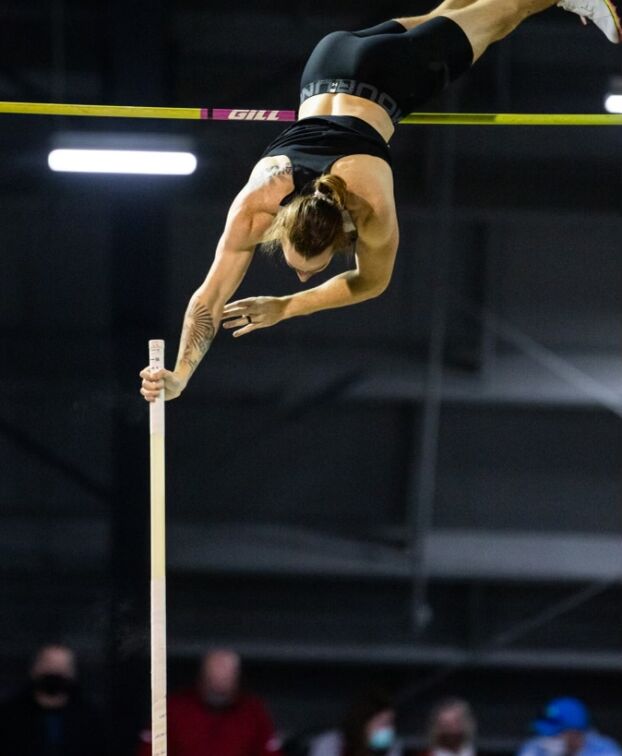
Beginner Corkscrew: 4-5L
- Pole is bending
- Vaulter does the corkscrew movement anywhere from a 45-65 degree angle.
- Vaulter usually lands their feet outside the 11 o’clock-1 o’clock slice of pie
- Right hand is on the right leg in a high “J”
- Right hand stays on the right leg and passes the hip flexor
- The head looks over the shoulder and down the pole at the same time the right hand passes the hip flexor.
- This is the only bent pole drill that the top hand passes the waist band, therefore simulating a real vault.
- The corkscrew movement is generated when the pole recoils, is timed up, the right hand passes the hip flexor and the head looks over the shoulder and down the pole
- The energy in this drill is generated mainly by a lengthed approach runup to 4-5L, and down pressure to the high “J”
- The vaulter should attempt to land their feet on the 12 o’clock in the back of the pit. This is necessary because the drill itself takes longer to be manifested, so staying in the air longer is important.
- Grip adjustment is usually important in this drill, and narrowing of the hands also can be helpful.
- Vaulter is the land on their back with their feet on the 12 o’clock, with the pole landing slightly to their left side (right handed pole vaulter).
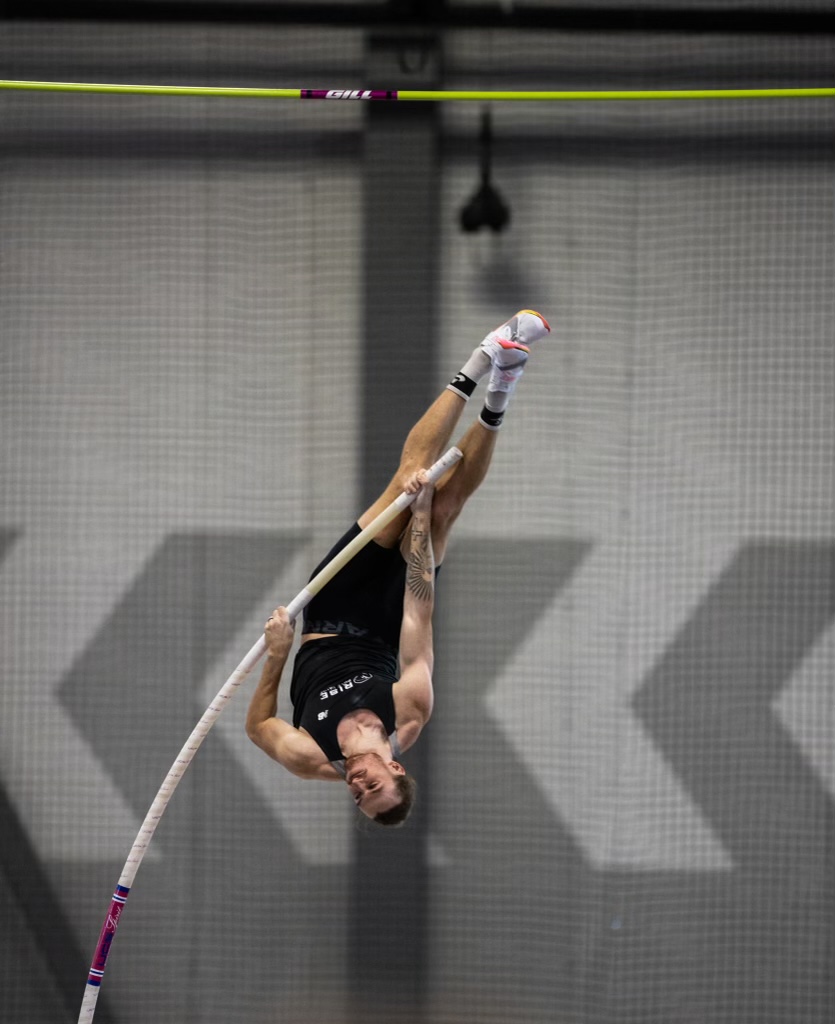
Advanced Corkscrew: 4-5L
- Pole is bending. Higher grip and larger pole that the BCS drill.
- Vaulter does the corkscrew movement anywhere from a 65-85 degree angle.
- Vaulter ALWAYS lands their feet outside the 11 o’clock-1 o’clock slice of pie
- Right hand is on the right leg in a high “J”
- Right hand stays on the right leg and passes the hip flexor
- The head looks over the shoulder and down the pole at the same time the right hand passes the hip flexor.
- This is the only bent pole drill that the top hand passes the waist band, therefore simulating a real vault.
- The corkscrew movement is generated when the pole recoils, is timed up, the right hand passes the hip flexor and the head looks over the shoulder and down the pole
- The energy in this drill is generated mainly by a lengthed approach runup to 4-5L, and down pressure to the high “J”
- The vaulter should attempt to land their feet on the 12 o’clock in the back of the pit. This is necessary because the drill itself takes longer to be manifested, so staying in the air longer is important.
- Grip adjustment is usually important in this drill, and narrowing of the hands also can be helpful.
- Vaulter is to land on their back with their feet on the 12 o’clock, with the pole landing slightly to their left side (right handed pole vaulter).
With All Due Respect: :^)
I suppose, I forget that some coaches (who don’t do drills) may be coaching athletes who don’t need to do drills as much as the developmental vaulters at RISE. Perhaps the more skilled a vaulter becomes, drill work may become less significant, especially during the competitive season. However, it has been my experience that even an advanced vaulter may require a little fine tuning of the basic fundamental movements in pole vaulting from time to time. As a competitive coach, I always wanted my vaulters to be crisp when in the midst of the competitive part of the season, and I learned that drills, when used appropriately, helped cultivate that crispness.
I hope you enjoy the video Clip. Click the link below.
CW


